
Ideally, to save the Raspberry Pi SD Card, we can debug the bulk of the Python code on our much faster laptop or PC instead. Therefore I go through the install process of the Python programming language, and I also include installing OpenCV. Additionally, I recommend the Geany text editor which I recently discovered.
I generally don’t write new code directly on the Raspberry Pi in case of unrecoverable failure of the SD Card. Therefore, I use a text editor on my Windows PC and then transfer the code file via FTP to the Raspberry Pi. However, unless I need access to GPIO connected devices, I write, run and debug the code on the PC first before any FTP transfer.
Raspberry Pi GPIO
I will usually debug as much code as I can on the PC before transferring to the Raspberry Pi. I will use dummy data or print statements to attempt to simulate GPIO input and output where possible. It is probably good practice not to spread GPIO access statements across the entire program. But instead, use special functions to keep GPIO statements confined and organised.
OpenCV
Providing you install the same Python Modules for both Raspberry Pi and Windows, an OpenCV application can swap between two platforms easily. So it makes sense to experiment with OpenCV on the much more powerful PC before moving the final OpenCV application to the Raspberry Pi.
Pi Camera Video Capture with OpenCV and Python Multithreading – Link.
The above article has example code that can easily access both the Raspberry Pi Camera and a standard compatible webcam on a PC.
Installing Python Windows and OpenCV
Installing OpenCV camera vision software is optional, but since some of the projects I publish include OpenCV, I add the install guide in this feature.
Install Python
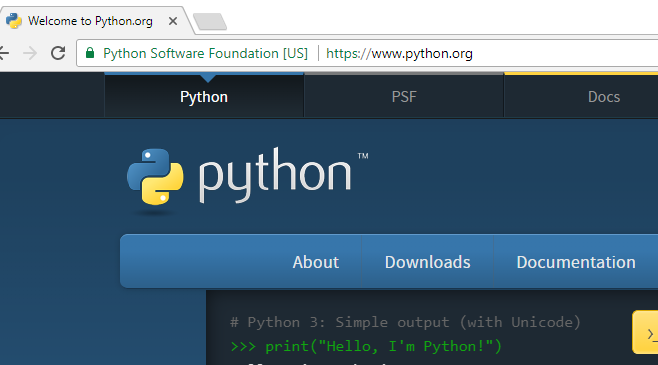
To begin installing the Python programming language, point your internet browser to the Python homepage here.
DOWNLOADING
I guess if you are new to programming then I would recommend downloading the suggested Python version (3.x, 32 bit). The suggested version will show either by hovering the mouse pointer over or clicking on the Downloads Tab.
Other versions of the programming language are also available including 64 bit. If you have some experience already, then select the version, you prefer on your system. In this case, you may want to use the same version you are already using on the Raspberry Pi. But, ideally, you should be using version 3.x if possible.
INSTALLING
Once downloading is complete, start the install process by double-clicking on the file name. This install process will be similar for any program you download from the internet. If the internet browser does not show the Python install program, look for the install program in the Windows Downloads folder and double-click it there.
You may get a security warning if running from the Internet browser. Chose run to continue.
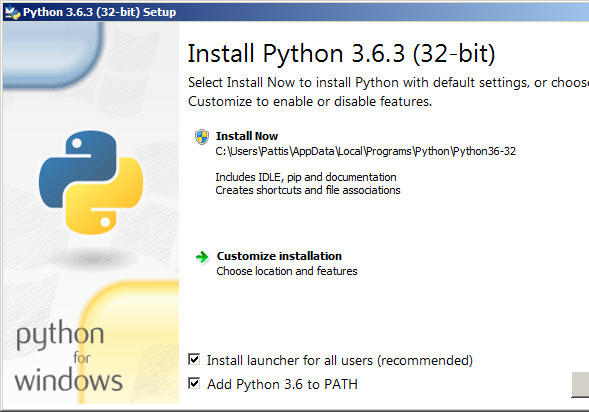
When you get to the install dialogue Box similar to the above, remember to tick the boxes. So, we will install the launcher for all users and then add to PATH. Then continue with the install process, however, if you get the User Account security pop-up, click yes to continue.
A final notification window with message ‘Setup was successful’ will appear. Close this window, and we will move on to verify the installation.
Test Python Installation

In the Windows Quick Launch Bar on the Desktop, start typing ‘command prompt’ in the search box next to the home button. When the desktop application ‘Command Prompt’ appears in the search suggestions, mouse-click on it.
With the Command Prompt application open, type python at the prompt. If the programming language was successfully added to PATH earlier, you would now see a Python prompt. Additionally, you will also see version information which also indicates that the programming software installed successfully.
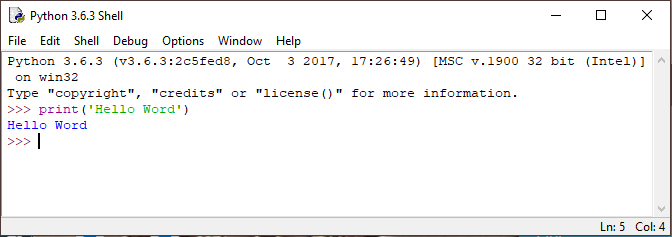
IDLE IDE comes with the programming language installation which you can use to open and edit code files. And you can also run as a shell. You can find the IDLE IDE by typing it in the search box of the Windows Quick Launch bar.
Installing OpenCV in Windows
Luckily, there is a much easier way to install OpenCV with Python bindings without compiling OpenCV yourself. There are unofficial packages for Python that you can install using the pip command. There are two OpenCV packages where one includes extra modules. However, these additional modules may consist of usage restrictions. View both OpenCV packages on the following pages for more details:
- Unofficial OpenCV packages for Python – Link.
- Unofficial OpenCV packages for Python with contrib modules – Link.
If modules exist, execute either command to remove old packages before installing new ones to avoid conflicts:
pip uninstall opencv-python
# or
pip uninstall opencv-contrib-python
To install the core package with bindings, run the following command in the Windows Command Prompt Application:
pip install opencv-python
To install OpenCV packages with contrib modules, enter the following:
pip install opencv-contrib-python
TESTING OPENCV
After installation is complete, we can try to import the OpenCV module in the IDLE shell.
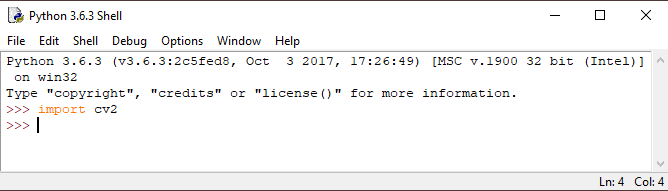
Therefore, type the following at the prompt of the IDLE shell and then press the enter key:
import cv2
Then, if the shell prompt moves to the next line without errors, OpenCV installation is successful.
However, if you do run into problems, visit the package pages for troubleshooting information. It might be you do not have Visual C++ redistributable 2015 on your system.
To further test your OpenCV and webcam capabilities you might want to try the following articles with example code.
![]()
Object Detection and Tracking with OpenCV and Python – Link.

OpenCV Color Detection and Filtering with Python – Link.
Geany Test Editor
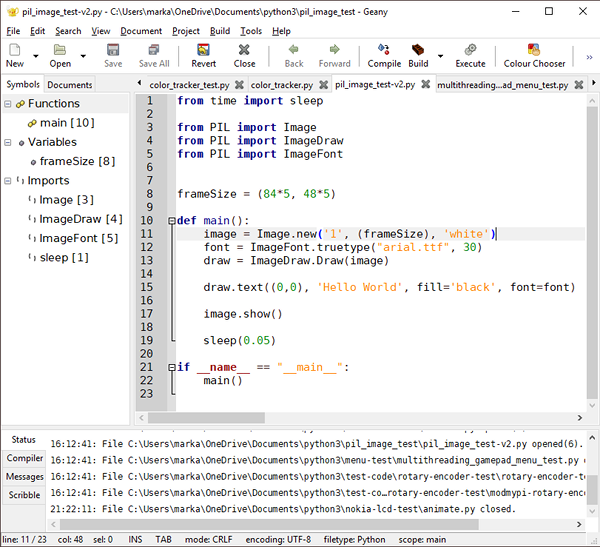
For a while, I’ve been using the Notepad++ text editor to write my Python code. However, while swapping between Notepad++ and IDLE, the consistent tab spacing often becomes corrupt. Then, I have the task of resetting the tab spaces in the Python code before it will run; gets very tedious.
Since discovering the Geany text editor, I’ve had no problems with corrupt tab spaces. I’m able to swap between Geany and IDLE without problems.
The Geany text editor development is still active with a new version out just a week ago; as of writing. It appears to be available for Windows, Mac and Linux. If you are looking for a quick and lightweight editor, then the Geany text editor is worth a look.
Geany Home Page – Link.
Buying Featured Items
DISCLAIMER: This feature may contain affiliate links, which means that if you click on one of the product links, I’ll receive a small commission. This commission helps support the website and allows me to continue to make features like this. Thank you for the support!
Banggood:
- No Driver required Mini USB Camera For Raspberry Pi and PC – Link.
UK Searches:
UK Amazon:
- Raspberry Pi – Search.
- MicroSD Card – Search.
- Raspberry Pi Compatible Wi-Fi Dongle – Search.
- Raspberry Pi Camera – Search.
US Searches:
US Amazon:
- Raspberry Pi – Search.
- MicroSD Card – Search.
- Raspberry Pi Compatible Wi-Fi Dongle – Search.
- Raspberry Pi Camera – Search.
On Closing
I hope you find this article useful – Python and OpenCV Setup on Windows 10 with Geany Text Editor, please like and share.